Introduction to Screen Recording
Screen recording, a digital process of capturing real-time video of a computer screen, has gained significant traction in recent years. This technology allows users to create visual content that can be beneficial in various contexts, including educational material, marketing resources, and entertainment. The growing demand for engaging digital content is driving more individuals and organizations to seek effective solutions for screen recording, making it an essential skill in today’s digitally driven society.
In the realm of online education, for instance, educators and trainers utilize screen recording to provide comprehensive tutorials and demonstrations. This method not only enhances the learner’s experience by allowing them to visualize complex processes but also enables the effective communication of ideas that may be difficult to convey through text alone. Similarly, businesses are increasingly leveraging screen recording for professional presentations, webinars, and training sessions, ensuring that their messages reach audiences clearly and efficiently.
In the gaming community, content creators are also recognizing the power of screen recording as they produce gameplay videos, walkthroughs, and live streams. These recordings not only serve to entertain but also provide valuable insights and strategies for viewers. The versatility of screen recording makes it a valuable tool across diverse applications, fostering engagement and understanding.
As individuals explore the intricacies of screen recording, it will be vital to focus on the quality of their recordings. High-quality visuals and audio greatly enhance the viewer’s experience, ensuring the content is both engaging and informative. Whether one is creating tutorials, sharing gameplay, or delivering professional presentations, understanding the options available—including the best screen recorder for Mac or the best screen recorder for Windows—will empower users to produce effective, high-quality recordings.
Built-In Screen Recording Features
Many users seeking to capture their computer screens are often unaware that both macOS and Windows operating systems come equipped with built-in screen recording features. These tools provide a convenient way to record, edit, and share screen activity without the necessity for additional software. This section will guide you through the functionalities of these built-in tools, ensuring an easy entry point for beginners.
On a Mac, the native screenshot tool, which was enhanced in macOS Mojave, offers a seamless way to record the screen. To access this feature, users can press Command + Shift + 5, revealing a control panel at the bottom of the screen. This panel allows for comprehensive screen recording options, from capturing the entire screen to selecting a specific portion. Additionally, users can choose whether to record audio by enabling a microphone input before starting the recording. This functionality is essential for creating tutorial videos or providing commentary on the captured content, making it a key element of the ultimate guide to recording.


For Windows users, the Game Bar feature serves as an effective tool for screen recording. Accessed by pressing Windows + G, the Game Bar is primarily designed for gamers but can also be utilized for various applications outside of gaming. After opening the Game Bar, users can begin recording their screen by clicking the record button, with options to activate microphone audio as needed. This built-in option supports recording in high-quality formats, making it an ideal choice for a practical tips and tools for PC guide.
Both built-in features ensure that capturing screen activity is accessible and user-friendly, catering to both novices and experienced users. Through these native tools, anyone can easily embark on their screen recording journey, which leads us to explore additional third-party applications and methods for those seeking more advanced functionalities.
Top Screen Recording Tools: Free and Paid Options
When it comes to recording your computer screen, selecting the right software is crucial for achieving high-quality results. This segment explores both free and paid options, evaluating their features, ease of use, and suitability for various audiences, including beginners and experienced users alike. Among the best screen recorders for Mac and Windows, several prominent tools stand out.
For users seeking free screen recording software, OBS Studio remains a top choice. This open-source software supports both Mac and Windows platforms and is renowned for its flexibility and extensive feature set. It allows users to capture high-definition video, and its customizable interface caters to different recording needs. Another option is ShareX, which is unique for its built-in editing capabilities, making it ideal for those who require quick edits right after their recording session.


On the paid side, ScreenFlow is a highly recommended best screen recorder for Mac, well-regarded for its intuitive interface and advanced editing tools. It enables users to produce polished videos with ease, making it perfect for content creators and educators. For Windows users, Camtasia offers powerful features, including interactive quizzing and extensive editing options, which can greatly enhance the learning experience in educational settings.
When choosing a screen recording tool, consider your specific requirements, including the desired video output quality and platform compatibility. Many modern tools, such as Screencast-O-Matic and Bandicam, also provide free versions, allowing users to test their functionalities before committing to a purchase. Whether you need a straightforward mac screen capture guide or a comprehensive pc screen recording tutorial, the right tool can significantly streamline your screen recording process.
Tips for Capturing High-Quality Screen Recordings
To achieve exceptional screen recordings, whether on a Mac or a PC, attention to specific factors is paramount. The first consideration is video resolution. Opting for at least 1080p resolution will ensure clarity and professionalism, allowing viewers to easily see the details of your screen. In addition, selecting a frame rate of 30 frames per second (fps) or higher is essential, especially for capturing dynamic movements or activities. This will result in smooth playback and an overall improved viewing experience.
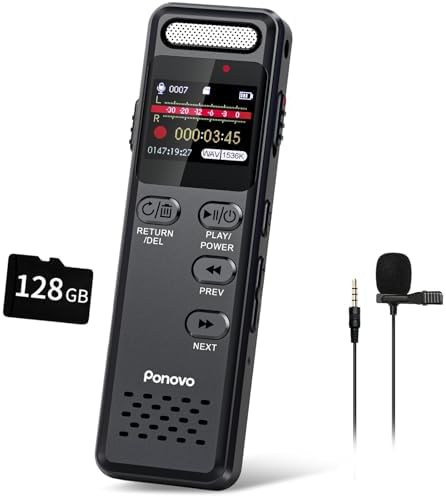
Audio quality is another critical element in screen recording. Utilizing a good quality microphone will significantly enhance the auditory experience of your recordings. Background noise reduction is equally important; therefore, consider recording in a quiet environment or using pop filters to minimize unwanted sounds. Voice-overs add a personal touch to your recordings and can guide viewers through the content smoothly. Clear pronunciation and controlled pacing will greatly improve viewer engagement.
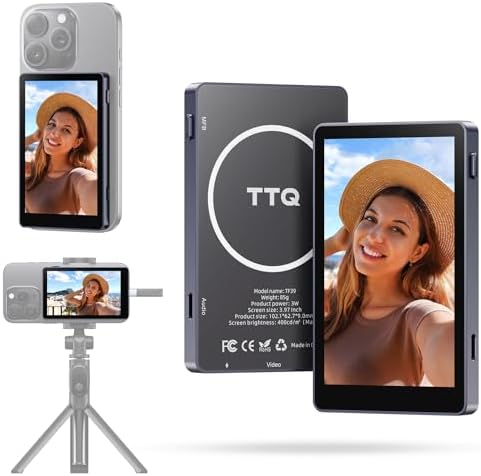
Lighting should not be overlooked, especially if your recordings involve video capture of a webcam feed. Good lighting can enhance visibility and create a more professional appearance. Natural light is often ideal, but softbox lights or ring lights can also be used effectively to ensure a well-lit recording environment.
Editing techniques further elevate the quality of your screen recordings. Familiarize yourself with basic editing software to trim unnecessary moments, add annotations, or include background music that complements your presentation. Lastly, be mindful of common mistakes—such as excessive on-screen clutter, poor framing, or ignoring sound quality—that can detract from your final product. By incorporating these practical tips and tools for both Mac and PC, you can create polished and engaging screen recordings, whether you’re sharing knowledge or showcasing software. Following this ultimate guide to recording ensures you captivate your audience with effective and professional results.